Before you start developing for UEF
Published: Not Available
Last Update: October 11, 2024
Before you can start working and developing for UEF, you will need to make sure a few things are in order.
Premium APIs Access (including UEF)
If you are a developer and interested in pursuing use of the UEF Premium APIs in your integration with the Learn Ultra Experience, what are your next steps? Email our Partnerships team at partners@blackboard.com with the subject "Interested in Partnership That Includes Premium API Access." Ask for time to discuss such with a member of our partnership team.
If you are a partner with a partnership-level of Bronze or higher, or you are a client, then you can simply file a Support ticket through our Global Support portal (https://support.blackboard.com) requesting UEF access.
In the ticket, include the email used to register the application in the Developer Portal, and the name of the group where you will place applications that you want UEF enabled.
Register a new application or use an existing one
To use our framework, you need to create or use an existing application, created through the Developer Portal, including all the information for an LTI 1.3 application. If you need information about the registration process, you can follow our document Registering and Managing a REST or LTI Application
UEF placement
The entry point of your integration is a UEF placement that needs to be created for your application, you can do this by either defining the placement within the Developer Portal, which will ensure that the placement is created when the administrator of the Blackboard LMS server installs the application, or, you can manually create the placement within Blackboard LMS once the application is installed.
Creating the placement in the Developer Portal
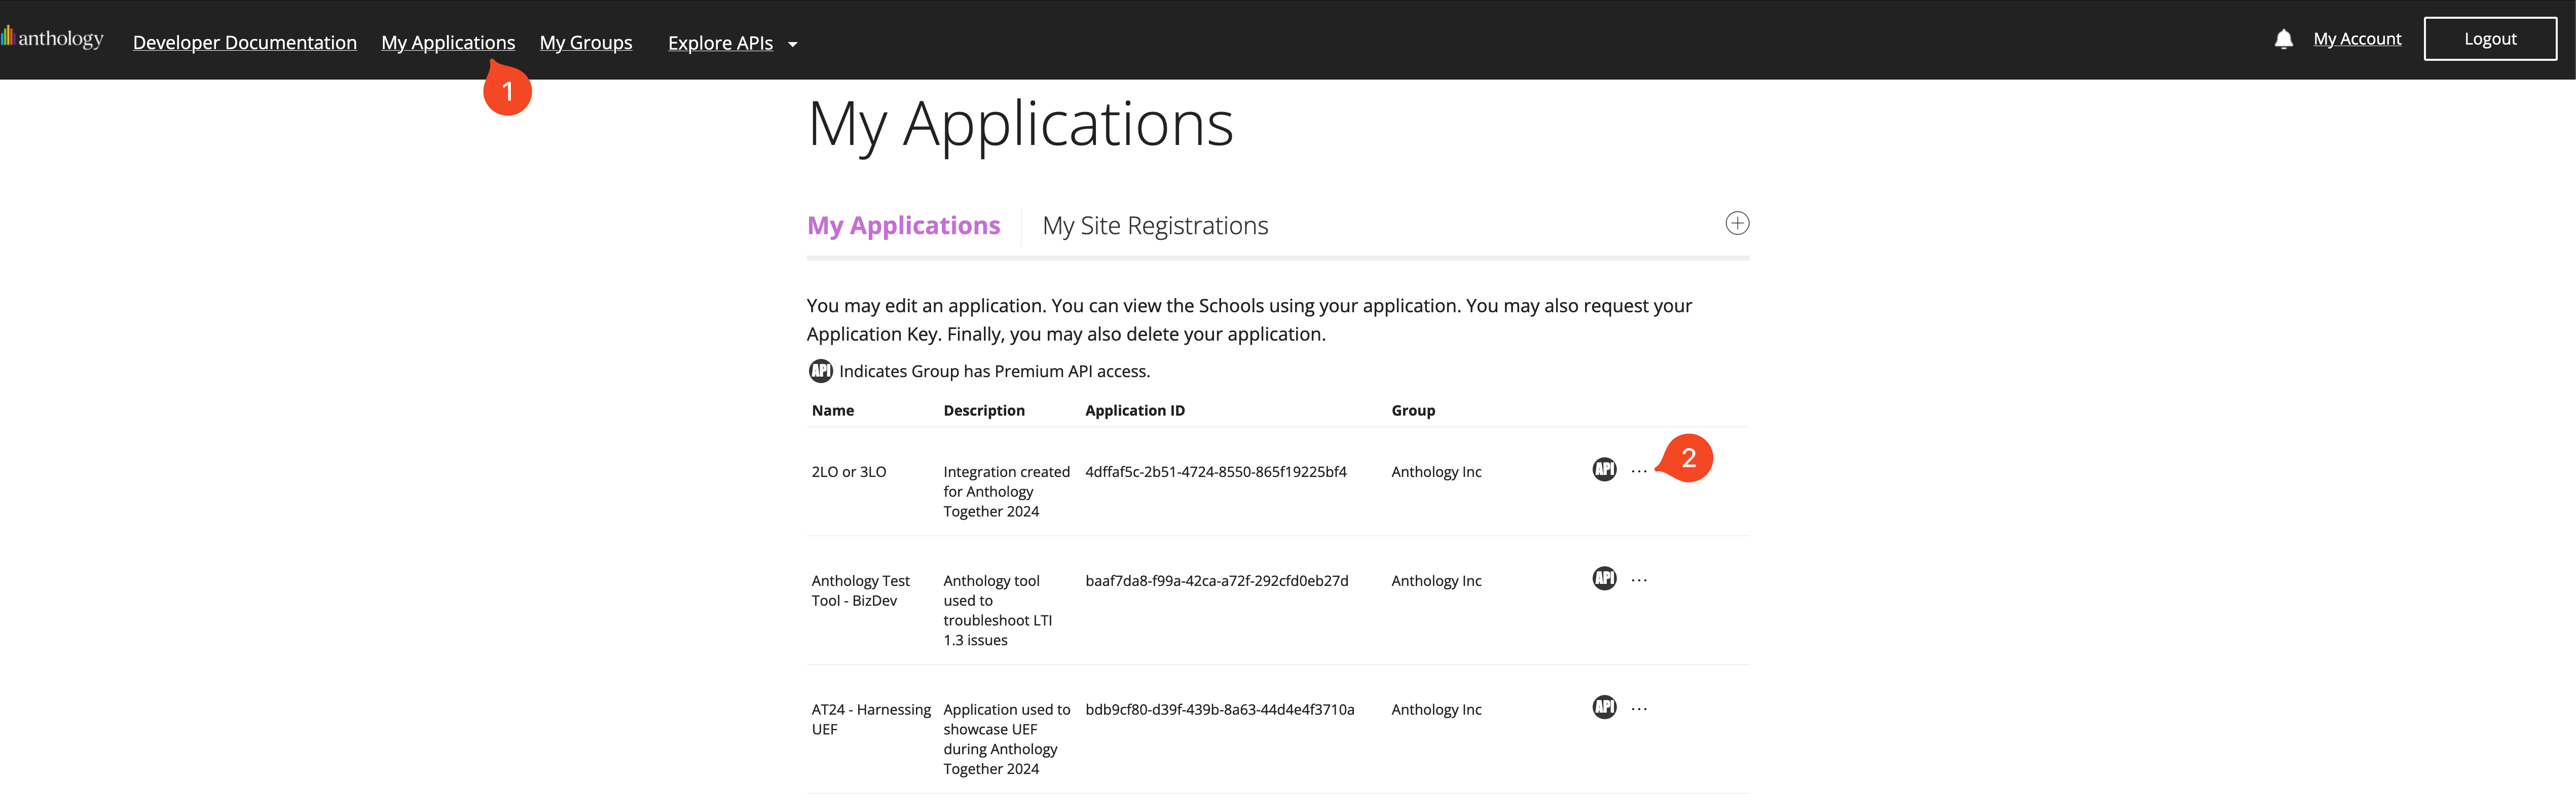
Once you have your application, navigate to "My Applications" in the top navigation bar, then, locate your application and click the three dots to the right of it and then, click on "Manage Placements"
In the new window, click "Register" (if there are no other placements) or the plus icon to the top right (if there are already placements created) and fill the information of the placement
- Name of the placement
- Select "Ultra Extension" in the dropdown next to Type
- Past or type the URL of your UEF integration, this will be the entry point from where Learn will start with the LTI authentication
- Click the "Register" option to save the placement

Creating the placement through the Learn UI
Once you or the administrator have installed the application in the Blackboard LMS server, navigate to Admin, then LTI Tool Providers (under the "Integrations" section).
In there, locate the installed application and click the chevron next to its name, then click on "Manage Placements"
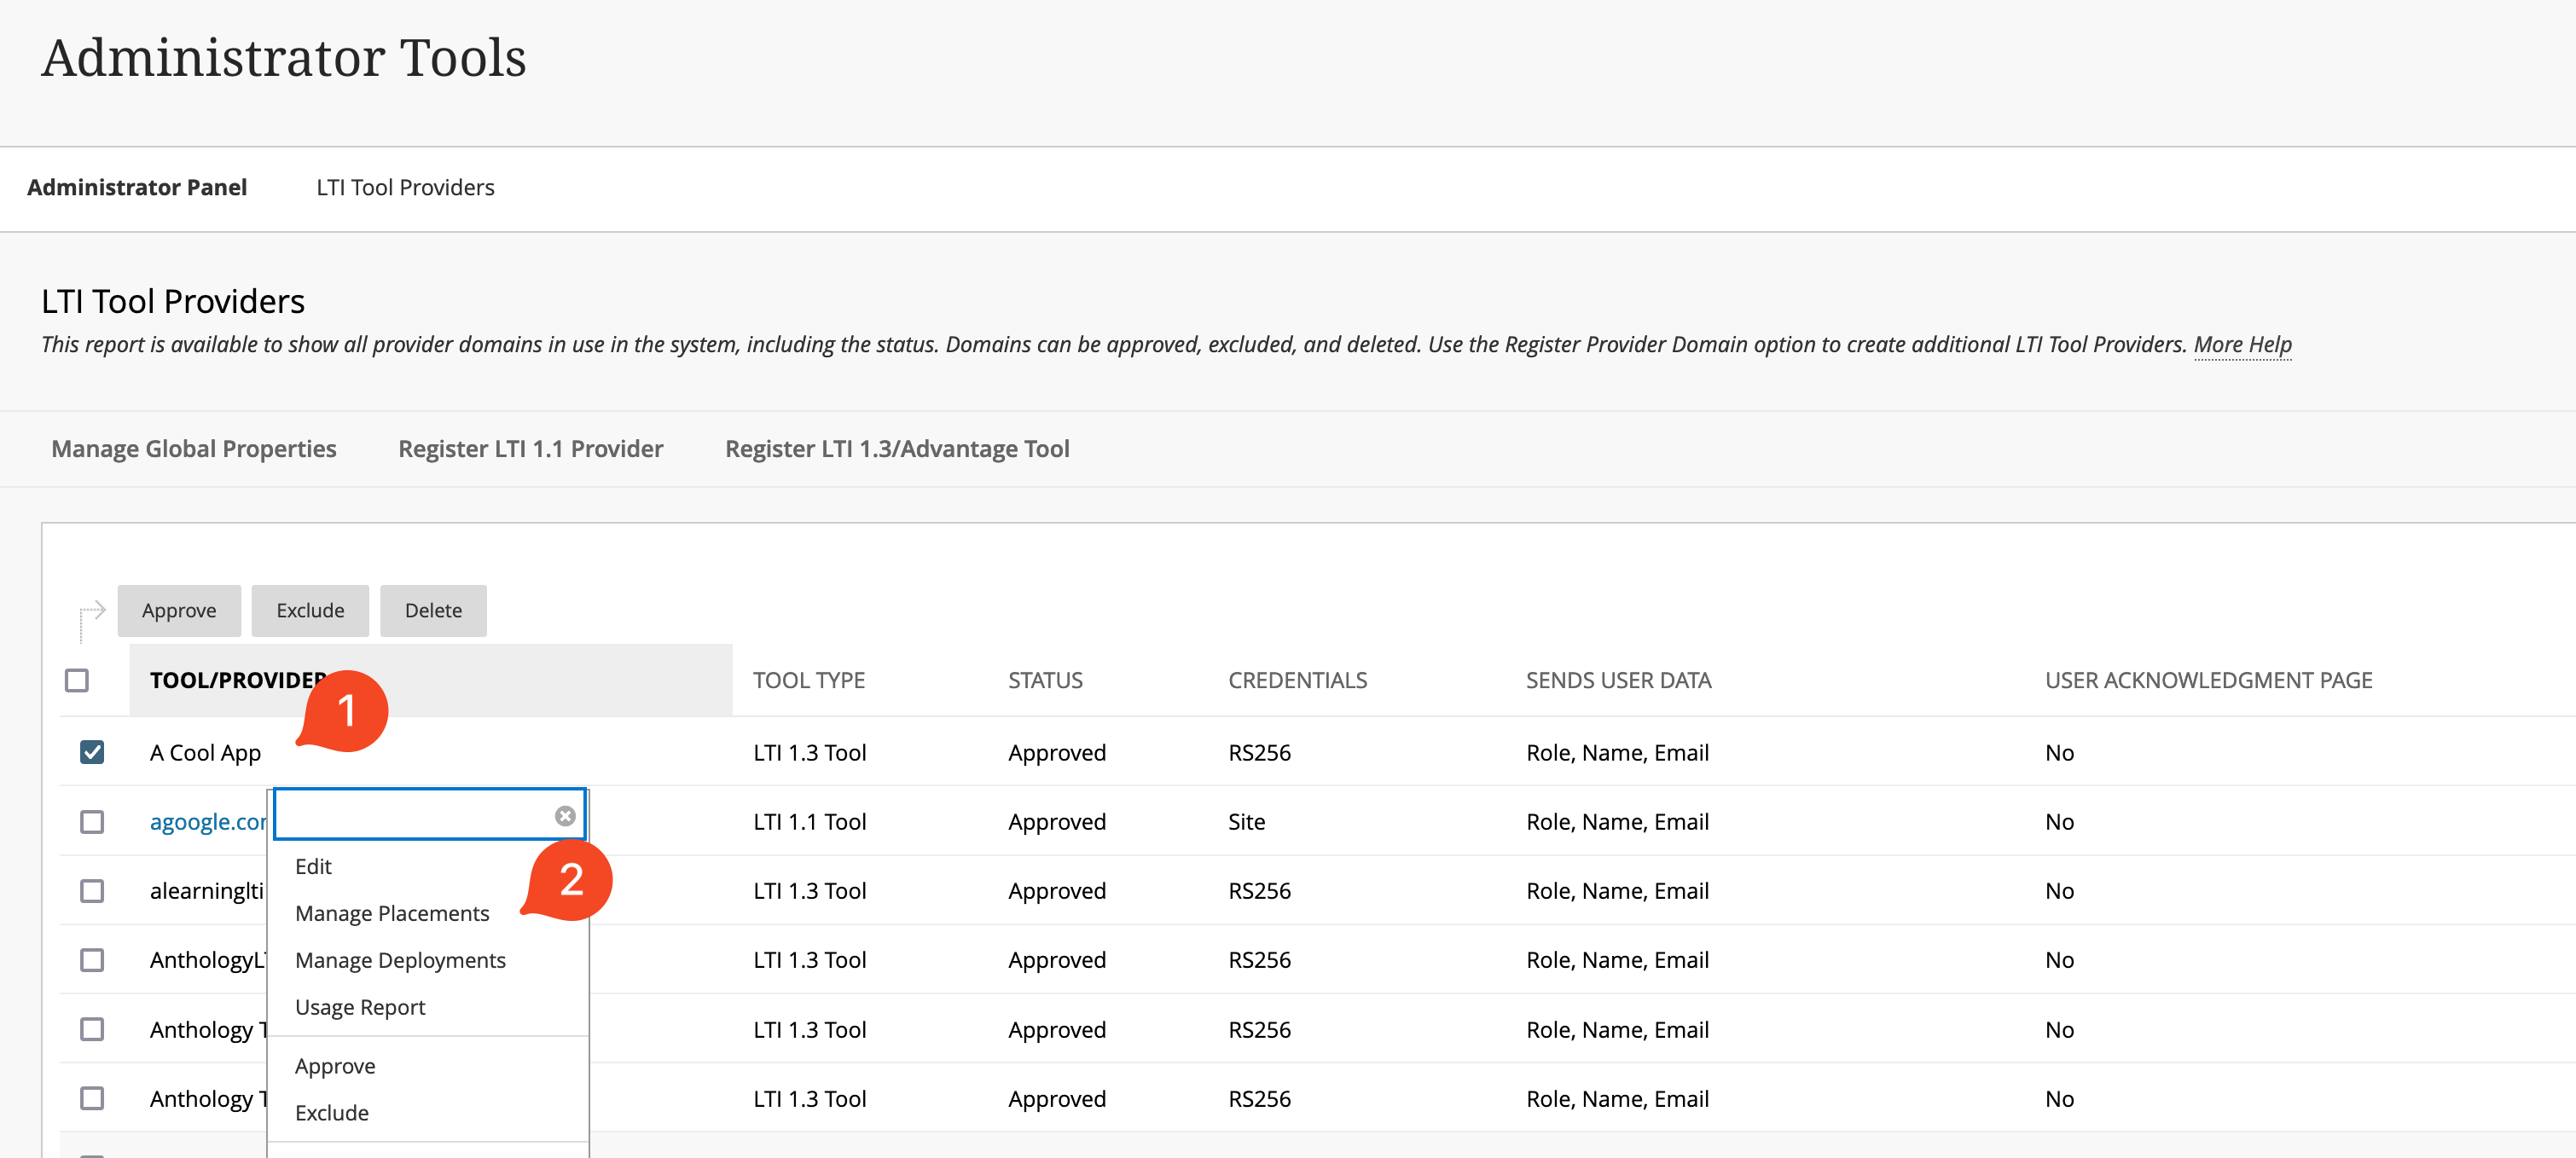
From there, click the "Create placement" button at the top left of the page and fill the same information as if you were creating the placement in the Developer Portal.
Install the same application as a REST API integration
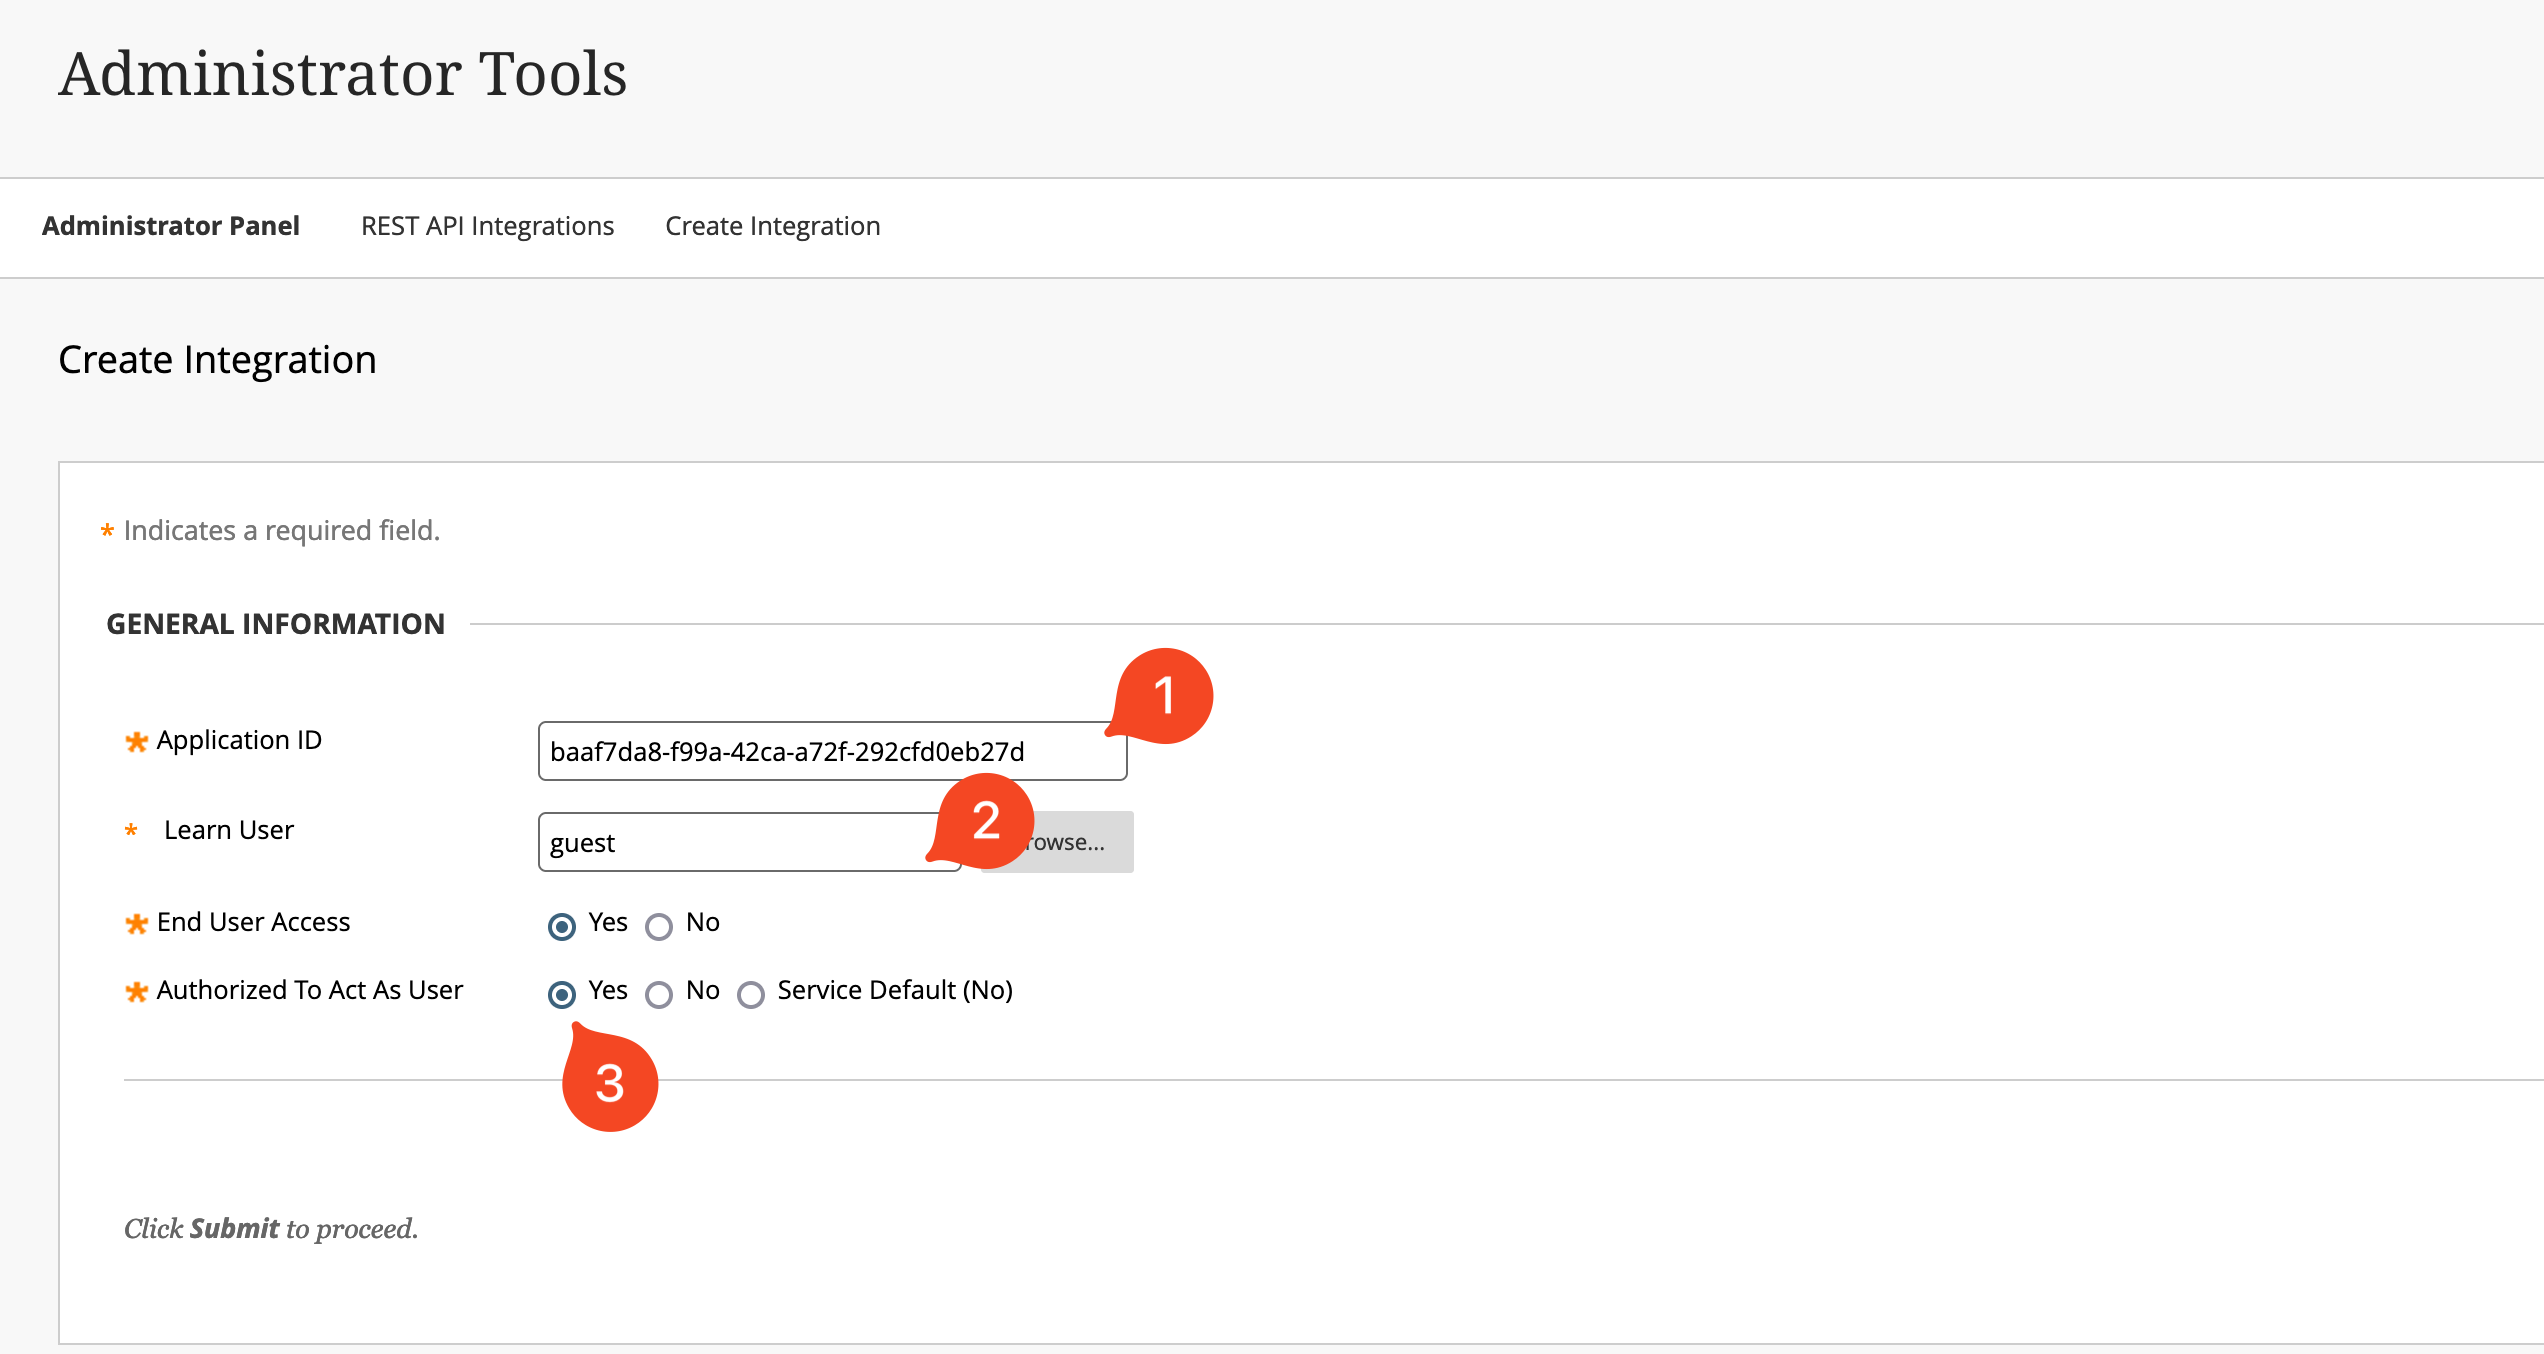
The second part of the requirements is to install the application as a REST API integration. To do this, navigate to Admin, then REST API Integrations (under the "Integrations" section) and then click on "Create Integration"
In the registration page, paste the Application ID and select any user for the integration (since UEF uses 3LO, it will get tokens based on the user interacting and not the user selected there).
Last but not least, select "Yes" next to "Authorized To Act As User" this is critical since without this, the UEF integration will not pass the REST API authentication step.
Ready to start?
Now that you have these requirements and the application is installed as an LTI tool and REST API integration, you are ready to start developing with UEF. Let's move into the next section